
How to Install HIDfast Hidden Deck Fasteners
This is a practical installation sequence for trained operators using the HIDfast pneumatic system. It assumes a properly framed deck, the correct fastener for the board, and a compliant air supply. Always follow the current manufacturer instructions, building-code requirements, decking-manufacturer requirements and tool safety documentation — they supersede this general guidance.
On this page
- 01Required Tools and Materials
- 02Personal Protective Equipment
- 03Pre-Installation Checks
- 04Deck Framing and Board Preparation
- 05Selecting the Correct HIDfast Fastener
- 06Setting Up the Pneumatic Tool
- 07Loading Collated Fasteners
- 08Positioning the Tool Correctly
- 09Driving the Fasteners
- 10Maintaining Consistent Board Spacing
- 11First and Final Boards
- 12Perimeter, Stairs and Obstacles
- 13Final Quality-Control Checklist
- 14Common Installation Mistakes
- 15When to Stop and Consult
- 16Printable Project Checklist
Required Tools and Materials
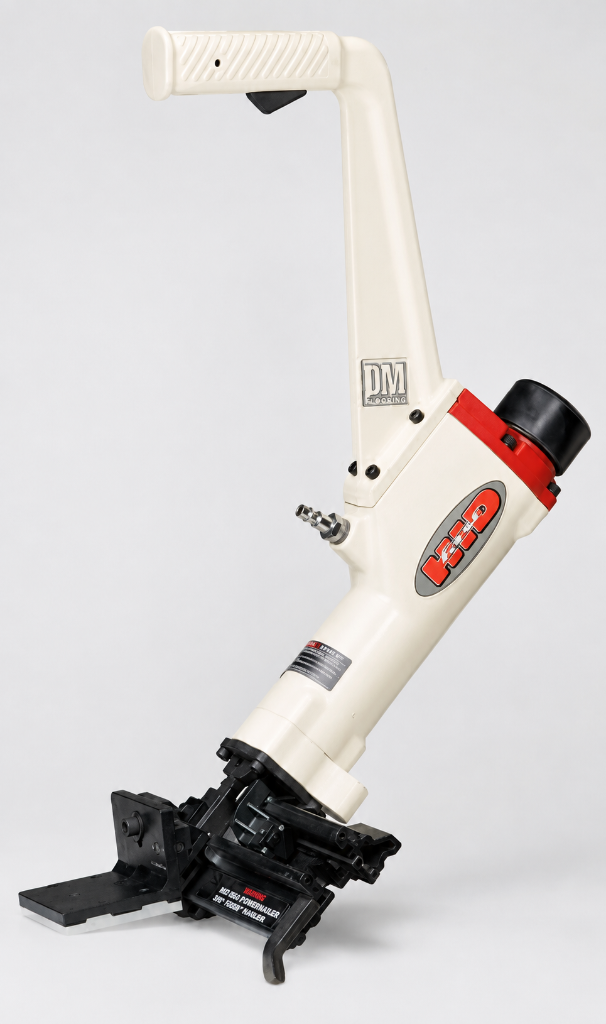
- HIDfast pneumatic decking gun and hammer tool
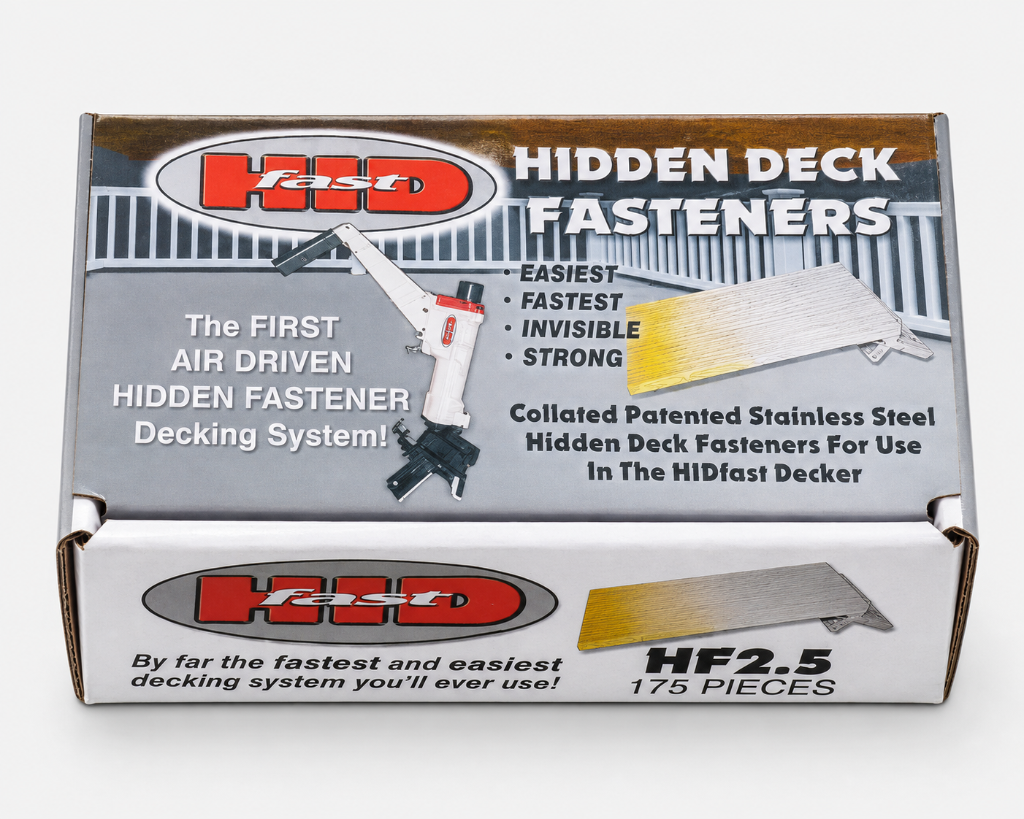
- Correct HIDfast fastener model for the board (175-count box)
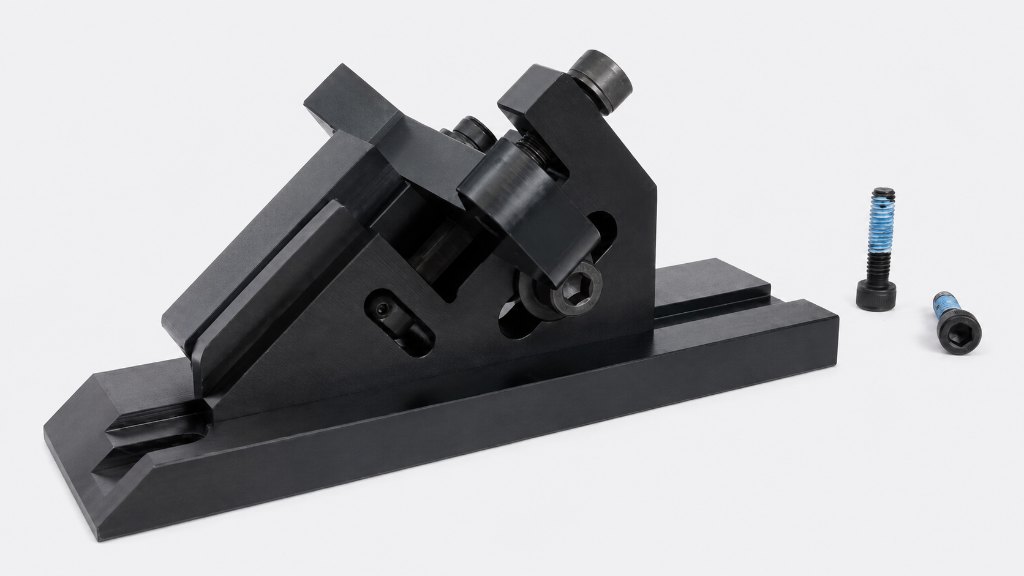
- Grooved-board attachment (required for pre-grooved decking)
- Air compressor, hose and fittings sized to the tool's requirements
- Pneumatic tool oil
- Safety glasses and hearing protection
- Framing square, tape measure, chalk line
Personal Protective Equipment
Safety first
Pre-Installation Checks
- 1Confirm framing is square, joists are on consistent spacing, and framing is structurally sound.
- 2Confirm the decking product, thickness and profile, and that HIDfast is approved for it.
- 3Confirm the selected fastener length and gap match the board and required spacing.
- 4Verify the compressor, hose and fittings meet the tool's air-supply requirements.
- 5Inspect the tool, fasteners and (if used) grooved-board attachment for damage.
Deck Framing and Board Preparation
Square framing and consistent joist spacing are essential — the system fastens at each joist, so joist layout drives fastener count and alignment. Prep boards to length, sort for defects, and stage them so installation flows without stopping.
Selecting the Correct HIDfast Fastener
Match the fastener to the board thickness and the required gap. Review the model comparison if unsure, and confirm compatibility for the exact decking product.
Setting Up the Pneumatic Tool
- 1Add a few drops of pneumatic tool oil to the air inlet.
- 2Connect the air hose and confirm pressure is within the tool's specified range.
- 3Cycle the tool once into a safe direction to confirm it fires cleanly.
- 4If using pre-grooved boards, install the grooved-board attachment and confirm height registration off the joist.
Loading Collated Fasteners
Disconnect the air supply before loading. Load the collated strip per the tool's instructions, confirm the feed pawl engages, and reconnect air. Use only the correct HIDfast fastener model — the wrong collation can cause jams or misfires.
Positioning the Tool Correctly
Seat the tool against the board edge and joist so the fastener enters at the designed angle and depth. Consistent positioning is what produces consistent depth and spacing. The tool sets the board gap automatically through the fastener's gap dimension.
Driving the Fasteners
- 1Position the tool firmly against the board and joist.
- 2Fire once per board per joist.
- 3Advance to the next joist and repeat.
- 4Visually confirm each fastener is driven to the correct depth and the board is pulled snug to the joist.
Maintaining Consistent Board Spacing
The fastener gap sets board spacing, but board bow, crown and temperature can affect it. Push boards snug before fastening and check spacing periodically with a gap gauge.
First and Final Boards
The first board establishes alignment — take time to set it straight and square. The final board and any board against a wall or obstacle may need a different approach because the tool may not fit; plan the last few boards before you reach them.
Perimeter, Stairs and Obstacles
Perimeter boards, stair treads, posts and skirting often require face fastening or alternate fastening where the tool cannot reach. Plan transitions and use matching corrosion-resistant face fasteners where needed.
Final Quality-Control Checklist
Before you leave the job
- Every board is fastened at every joist
- No proud or overdriven fasteners
- Board spacing is consistent
- First and final boards are straight and secure
- Perimeter, stairs and obstacles are addressed
- Tool is cleaned, oiled and stored
- Waste and leftover fasteners are tracked
Common Installation Mistakes
- Using the wrong fastener model for the board
- Incorrect air pressure causing inconsistent depth
- Poor tool positioning causing angled or proud fasteners
- Skipping the grooved-board attachment on pre-grooved decking
- Forcing a jammed tool instead of stopping to clear it safely
When to Stop and Consult
Stop if the tool jams repeatedly, fires inconsistently, or drives fasteners to inconsistent depth. Consult the manufacturer's documentation or request service. Continuing to force a malfunctioning tool risks injury and damage. For tools and hidden deck fasteners, review the HIDfast tools and hidden deck fasteners page.
Printable Project Checklist
Take this to the jobsite
Frequently Asked Questions
Do I need the grooved-board attachment?
Yes — for pre-grooved decking. The attachment mounts to the tool and registers fastener height off the joist surface. Square-edge installations do not require it.
What air pressure does the HIDfast tool need?
Use the air pressure specified in the tool's documentation and confirmed by your compressor setup. Incorrect pressure causes inconsistent depth and misfires. Always follow current tool instructions.
Can I use HIDfast alone?
HIDfast is designed for trained operators. Perimeter, stairs and obstacles often still need face fastening or alternate fastening where the tool cannot reach.
What if a fastener is proud?
Stop and check tool positioning, air pressure and fastener model. A proud fastener usually means inconsistent positioning or pressure. Correct the cause before continuing.
Who should I call for install help?
Call Fastener Express at (952) 469-2943 for product-selection and installation support, or request tool repair if the tool itself is malfunctioning.
HIDfast Products for This Project

Related HIDfast Guides
HIDfast Hidden Deck Fasteners: Complete Contractor Guide
Everything contractors need to specify, install, estimate and maintain the HIDfast hidden deck fastener system.
Read Guide HIDfast Guide · 8 min readHIDfast Tool Troubleshooting and Maintenance
A symptom/cause/next-step troubleshooting guide plus routine maintenance for the HIDfast pneumatic tool.
Read Guide HIDfast Guide · 7 min readDoes HIDfast Work With Trex, AZEK, TimberTech and PVC Decking?
A careful HIDfast compatibility guide for composite, PVC, treated, cedar and hardwood decking.
Read GuideReady to Build With HIDfast?
Shop the system, order fasteners, request contractor pricing, or get product help from our team.